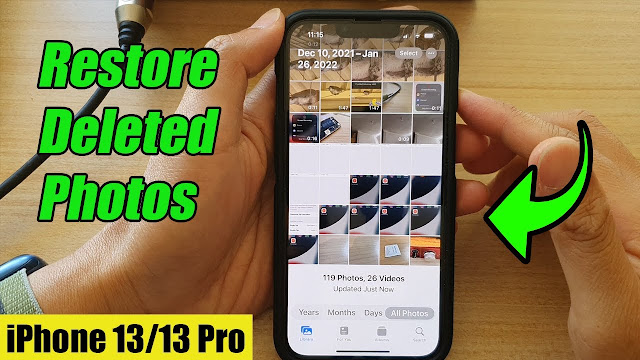
With the increased proliferation of technology, more and more iPhones are in the market than before. Therefore, more people will be using the iPhone in 2022 than in previous years. Equally, there are more people facing data loss incidents than before.
Whether you are using iPhone13 or older versions, the pain of losing your data from the storage device, whether due to accidental deletion or other factors, is the same. If you accidentally delete photos from your iPhone, you will desperately look for an urgent solution to try and recover them.
This article shows you some foolproof methods to recover photos from an iPhone. You can effectively use these methods to restore deleted pictures on any version of the iPhone.
Table Of Contents
- 1 Method 1: Recover Deleted Photos With Software (Without Backup)
- 2 Method 2: Recover From Backups
- 2.1 Recover Deleted Photos From iTunes Backup
- 2.2 Recover Deleted Photos From iCloud Backup
Method 1: Recover Deleted Photos With Software (Without Backup)
If you did not have any backups on your iPhone and cannot recover your photos with the two methods below, the best alternative is to use Disk Drill by CleverFiles iPhone Recovery. Get the software onto your Mac and follow the steps below to recover the deleted photos.
Step 1: Plug the iPhone into your computer. If your iPhone asks whether you trust that computer, tap “Yes” and enter the code to unlock.
Step 2: Close all the programs on Mac.
Step 3: Double-click on Disk Drill to launch it.
Step 4: On the row containing the iPhone 13 you intend to restore, click “Recover” to launch the recovery procedure and enter the iPhone’s encryption password if prompted by Disk Drill.
Step 5: Wait for the software to scan the device for deleted photos. Do not use your iPhone until the process is completed.
Step 6: Review the results and select the right photos to restore.
Generally, this is the best iPhone recovery software in the market today.
Method 2: Recover From Backups
Anytime you lose data, the first question that runs through your mind is whether you backed up your data or not. Without previous backups on your device, you would have more difficulty getting them back. However, with a backup, you should not worry about recovery.
You can use two backups to recover deleted photos on iPhone 13 – iCloud and iTunes backups. Continue reading to see how to recover deleted photos from iCloud and iTunes backups.
Recover Deleted Photos From iTunes Backup
Disk Drill is a versatile software that you can use to restore deleted files and folders from a backup stored on your PC. If you backed up photos on your iOS device on iTunes, Disk Drill is one of the best iPhone data recovery tools in 2022. With the software, you get back your photos in a few simple steps.
Step 1: Get Disk Drill onto your computer from the official site.
Step 2: Launch the software.
Step 3: Connect the iPhone where you deleted the photos to your PC using a USB cable.
Step 4: Tap “Recover from Backup” and click on the arrow appearing to the right side on the bottom end.
Step 5: Check the box marked “Photos” and enter the password when prompted.
Step 6: When the scanning stops, restore the photos and view them using the Photos App on your iPhone or use the computer.
Other photo recovery apps you can use include AnyTrans App, Tonorshare, and UltData. They offer convenient photo recovery features from iPhone 13 and will work on any iOS device to get your data back.
Recover Deleted Photos From iCloud Backup
Like iTunes, you can use reliable photo recovery software to recover deleted photos from iCloud Backup. Disk Drill will soon be able to retrieve specific data types from iCloud without erasing them on your iOS device. Let’s show you how to recover deleted photos from iCloud using Dr.Fone data recovery software.
Step 1: Get the software on your PC.
Step 2: Plug your iPhone 13 with a USB into the computer.
Step 3: Launch the software and choose “Recover from iCloud,” then click the right arrow.
Step 4: Enter your Apple password when prompted and sign in to iCloud.
Step 5: Choose “iCloud Backup” and download the photos.
Step 6: Now tap the right arrow button from the downloaded files so that you can scan them and finally load them on the screen.
Step 7: Preview the recovered photos and select the ones you need to get back. Save them back on the iPhone 13 or PC.

Comments
Post a Comment